Guide · Embroidery digitizing

Embroidery Digitizing Explained

What digitizing is, how an image becomes stitches, the stitch types and file formats involved, and how AI auto-digitizing turns artwork into a machine-ready design in seconds — a complete, plain-English guide.

What is embroidery digitizing?

Embroidery digitizing is the process of converting a piece of artwork — a logo, image or photo — into a stitch filethat an embroidery machine can read and sew. A machine can't stitch a JPG or PNG directly; it needs a precise set of instructions telling the needle where to go, in what order, in which colors, and where to jump and trim.

A digitized file encodes exactly that: the stitch coordinates, stitch types, color changes, jumps and trims. Digitizing decides how each area of the design is filled with thread — the stitch direction, density and underlay that make the finished embroidery sit flat, look crisp and hold up to washing.

Historically this is skilled manual work done in desktop software such as Wilcom, Hatch, Pulse or Embird, and it's often outsourced to a digitizer for a per-design fee. Today, AI auto-digitizing can produce a machine-ready design from an image automatically in seconds — excellent for logos and bold artwork, and a fast starting point even for more complex jobs.

How it works

How digitizing turns an image into stitches

The core steps every digitizing workflow follows, manual or AI.

1

Prepare the artwork

Clean, high-contrast art with solid colors and clear edges digitizes best. The image is often simplified and its colors reduced first.

2

Trace shapes & colors

Each color area is separated and traced into outlines that define the regions the machine will fill with thread.

3

Assign stitch types

Regions are mapped to running, satin or fill stitches with the right direction, density and underlay for the fabric.

4

Sequence & export

Stitches, color changes, jumps and trims are ordered efficiently and saved as a machine format like DST or PES.

Before / after

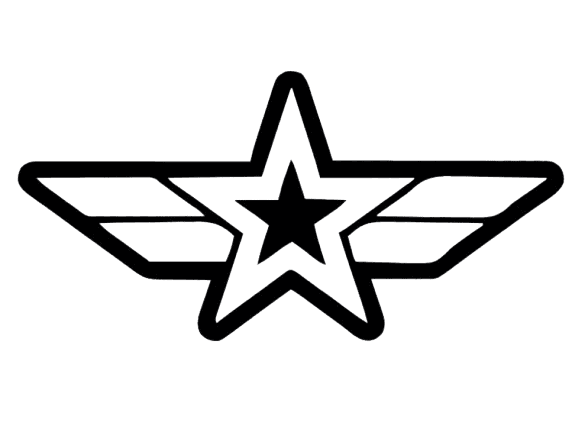
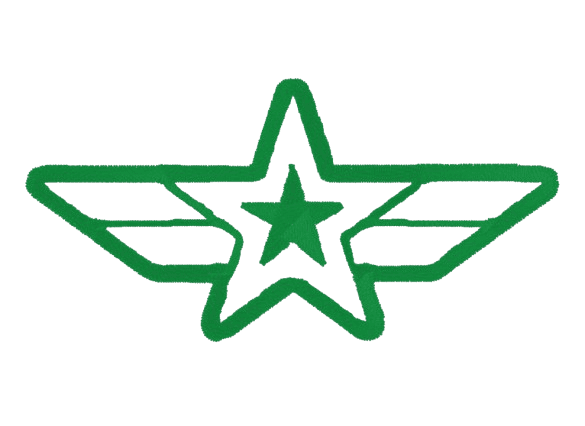
From artwork to stitches

Drag the handle to compare the original image with the embroidered result.

Original logo artworkOriginal
Embroidered logo stitch-outEmbroidered

Key concepts

The building blocks of a digitized design

Running stitch

A single line of stitches that follows a path — used for outlines, fine detail and light lettering.

Satin stitch

Closely packed stitches across a column — used for crisp borders, text and narrow shapes with a glossy look.

Fill stitch

Rows of stitches that cover larger areas with a chosen pattern, direction and density.

Underlay

Foundation stitches laid first to stabilize the fabric and support the top stitching so it sits flat.

Density

How tightly stitches are packed. Too dense puckers the fabric; too loose leaves gaps showing the backing.

Pull compensation

Slightly widening shapes to offset the way fabric draws in under thread tension, keeping the design true to size.

Jumps & trims

Moves between sections without stitching (jumps) and thread cuts between colors or areas (trims).

Stitch direction

The angle stitches run, which controls sheen and how well shapes read — a key digitizing decision.

Benefits

Why good digitizing matters

The difference between a design that sews cleanly and one that puckers, gaps or breaks thread.

Clean, professional results

Correct stitch types, density and underlay make embroidery look sharp and sit flat on the garment.

Fewer thread breaks

Well-sequenced stitches and sensible density reduce thread breaks and machine stops during the run.

Right size & fit

Good digitizing keeps the design true to size and fitting the hoop, avoiding distortion and misregistration.

Efficient stitch-outs

Fewer wasted jumps and trims mean faster runs and less thread — important for production embroidery.

Embroidery file formats you'll encounter

A digitized design is saved in a machine format. DST (Tajima) is the universal commercial standard read by almost every machine. PES is native to Brother and Babylock. EXP (Melco/Bernina), JEF (Janome/Elna) and VP3 (Pfaff/Husqvarna) are the native formats for those brands.

Most formats store the same core data — stitches, colors, jumps and trims — but differ in how they encode colors and metadata. When in doubt, DST is the safest choice because it opens virtually everywhere; use your machine's native format when you want its exact thread colors preserved.

You can inspect any of these in the browser with our free viewers, or convert between DST and PES/EXP with our converters — handy for checking a digitized file before you commit it to a run.

Manual digitizing vs AI auto-digitizing

Manual digitizing gives an experienced digitizer full control over every stitch — the best route for intricate designs, tricky fabrics and premium results. The trade-off is that it takes skill, desktop software and time, and outsourcing costs a fee per design.

AI auto-digitizinganalyzes an image and plans the stitches automatically in seconds. It's ideal for logos, icons, lettering and bold artwork, and makes a great starting point you can preview instantly and refine. For photo-realistic or highly detailed work, a human digitizer still has the edge.

A practical workflow for many people: auto-digitize to get a machine-ready design and an instant analysis in seconds, sew a test, and only pay for manual digitizing when a job truly needs it. You can try AI digitizing free with our image to embroidery converter.

Supported machines

Digitized designs run on every embroidery machine

Whatever you digitize to — DST or PES — loads on home and commercial machines alike.

Brother & Babylock

Export PES — the native format for Brother and Babylock home and commercial machines — and load it straight from USB.

Tajima & commercial heads

DST is the universal commercial format read by Tajima, Barudan, SWF, Ricoma and virtually every multi-head machine.

Janome, Bernina & Pfaff

These machines read DST widely, so a file generated here opens on the large majority of home embroidery units.

Singer, Husqvarna & more

Any machine or design program that accepts a standard DST or PES file can open the design — that's nearly every machine sold today.

Not sure which format your machine reads? Choose PES for Brother and Babylock, or DST for almost everything else — DST is the universal commercial embroidery standard.

FAQ

Embroidery digitizing questions

Common questions about digitizing artwork for machine embroidery.

Embroidery digitizing is converting artwork — a logo, image or photo — into a stitch file an embroidery machine can read and sew. The file encodes the stitch coordinates, stitch types, colors, jumps and trims, plus decisions like density and underlay that make the finished embroidery look clean and sit flat.

Yes. Our AI auto-digitizing tools let you upload an image, digitize it, preview the stitch-out and download a DST for free with no login. A free account adds saved history and advanced exports.

The AI analyzes your image to detect shapes and color regions, traces clean outlines, assigns stitch types (running, satin, fill) and plans the paths, then sequences the stitches and exports a machine format like DST or PES — all automatically in seconds.

For clean, high-contrast artwork like logos, icons and lettering, AI results are excellent and ready to sew. For photo-realistic images, unusual fabrics or highly intricate designs, an experienced manual digitizer still produces the best results. AI is also a fast starting point a digitizer can refine.

The three core types are running stitch (a single line, used for outlines and detail), satin stitch (packed stitches across a column, used for borders and text), and fill stitch (rows covering larger areas). Good digitizing chooses the right type, direction, density and underlay for each region.

The common ones are DST (Tajima, the universal standard), PES (Brother/Babylock), EXP (Melco/Bernina), JEF (Janome/Elna) and VP3 (Pfaff/Husqvarna). DST opens on almost every machine; the others are native formats that preserve their brand's thread colors.

Easy: high contrast, solid colors, clear edges and a limited palette — logos, icons and bold graphics. Hard: fine photographic detail, soft gradients, tiny text and busy backgrounds. Simplifying the artwork before digitizing almost always improves the stitch-out.

Use our free image to embroidery converter to auto-digitize any JPG or PNG in your browser, preview the true-to-thread result, and download a DST or PES — no software and no login required.

Related tools

More free embroidery tools

Try AI embroidery digitizing free

Upload any image to our converter and preview the digitized stitch-out in seconds — free, no login. Create a free account to save history and unlock advanced exports.