Tutorials
How to Convert PNG to DST: A Step-by-Step Embroidery Guide
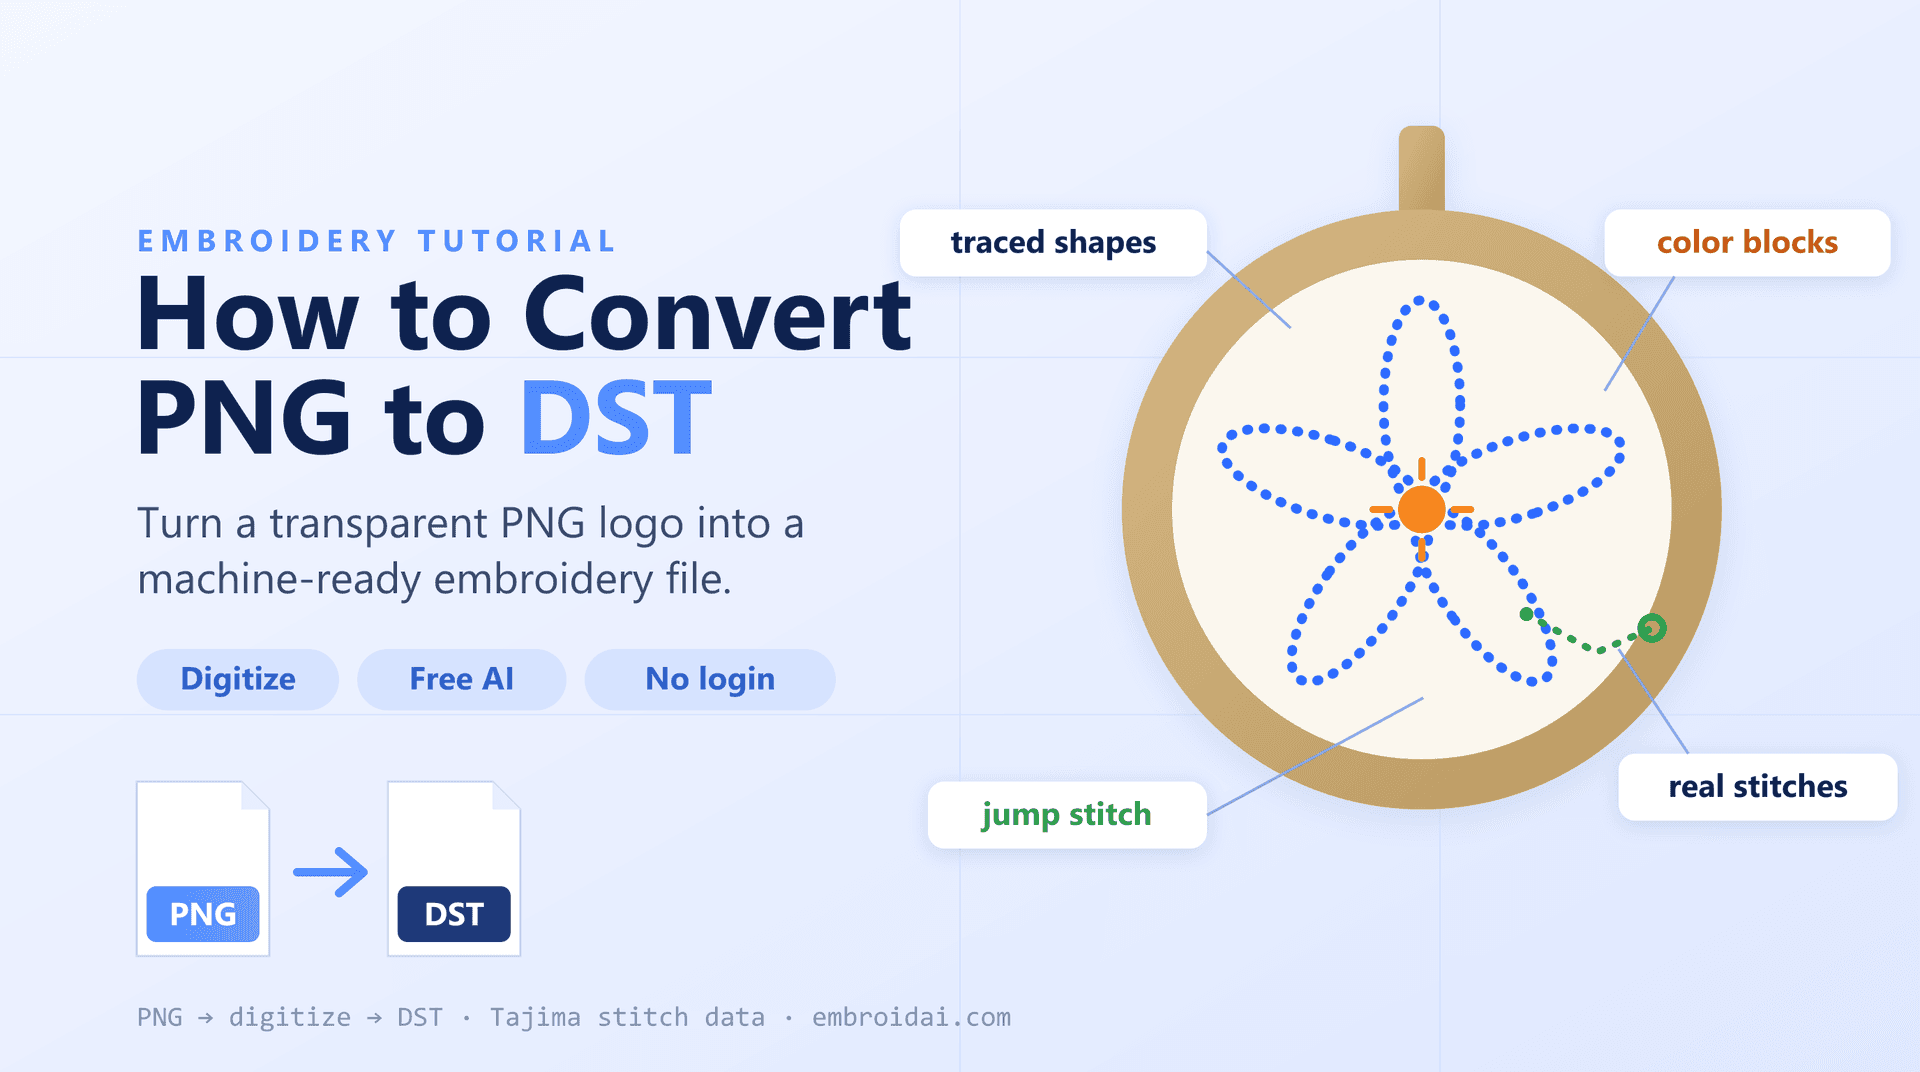
You've got a clean PNG logo and an embroidery machine, and it seems like the two should just fit together. But when you try to load the PNG, nothing happens — because an embroidery machine can't read a picture. To stitch a PNG, you first have to convert it to a DST file. This guide walks you through exactly how to convert PNG to DST, what happens during the conversion, which images give the best results, and how to do it online for free.
Why You Can't Just Rename PNG to DST
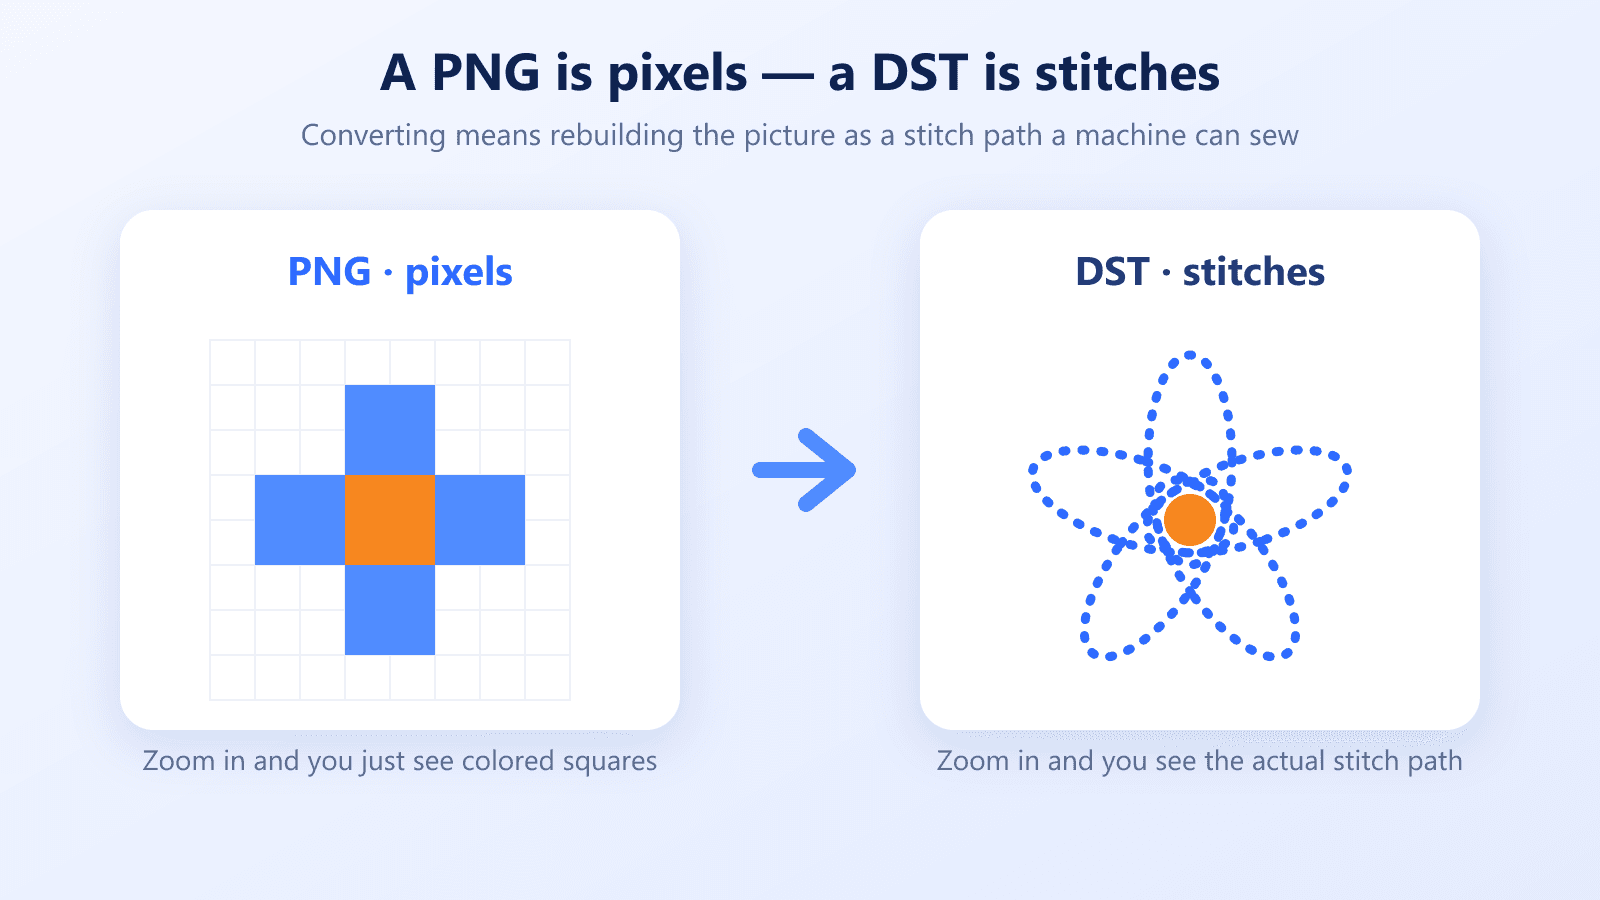
The first thing to understand is that a PNG and a DST are completely different kinds of files. A PNG stores an image as a grid of colored pixels — it's meant to be displayed on a screen. A DST file (the Tajima embroidery format) stores something entirely different: a sequence of stitch commands that tell a needle exactly where to go, when to jump, and when to trim the thread.
Because of that, renaming logo.png to logo.dst does nothing useful — the machine will either reject the file or fail to read it. The picture has to be rebuilt as stitches through a process called digitizing.
What “Converting” a PNG Actually Means
When you convert a PNG to DST, software analyzes your image and recreates it as embroidery. In practice, that involves a few things happening automatically:
- Tracing the outlines and solid color areas of your artwork into clean vector shapes
- Deciding which shapes should be outlines (running stitch), borders and text (satin stitch), or filled areas (fill stitch)
- Planning the sewing order so the machine moves efficiently
- Adding jump stitches and trim commands between separate sections
- Leaving transparent areas of the PNG unstitched
Traditionally this was slow, manual work done by a professional digitizer. Today, AI-assisted converters can do a solid job on simple, high-contrast artwork in seconds — which is what makes converting a PNG to DST online so quick.
Which PNGs Convert Best to DST
The single biggest factor in a good result is the image you start with. Embroidery is a chunky medium — thread is far coarser than pixels — so simple, bold artwork always converts better than fine detail.
PNGs that convert beautifully to DST:
- Logos and wordmarks with solid colors
- Icons, badges, and crests
- Monograms and simple lettering
- Flat illustrations with clear shapes
- Transparent PNGs (the background is skipped automatically)
PNGs that are difficult to convert well:
- Photographs and realistic images
- Smooth gradients and soft shadows
- Very thin lines or tiny text (under about 4 mm tall)
- Highly detailed artwork with dozens of colors
If your PNG is complex, simplify it first: flatten it to a few solid colors, remove tiny details, and make sure the edges are crisp. A little cleanup before converting saves a lot of unpicking later.
How to Convert PNG to DST in 4 Steps
Here's the whole workflow using an online converter — no desktop software required.
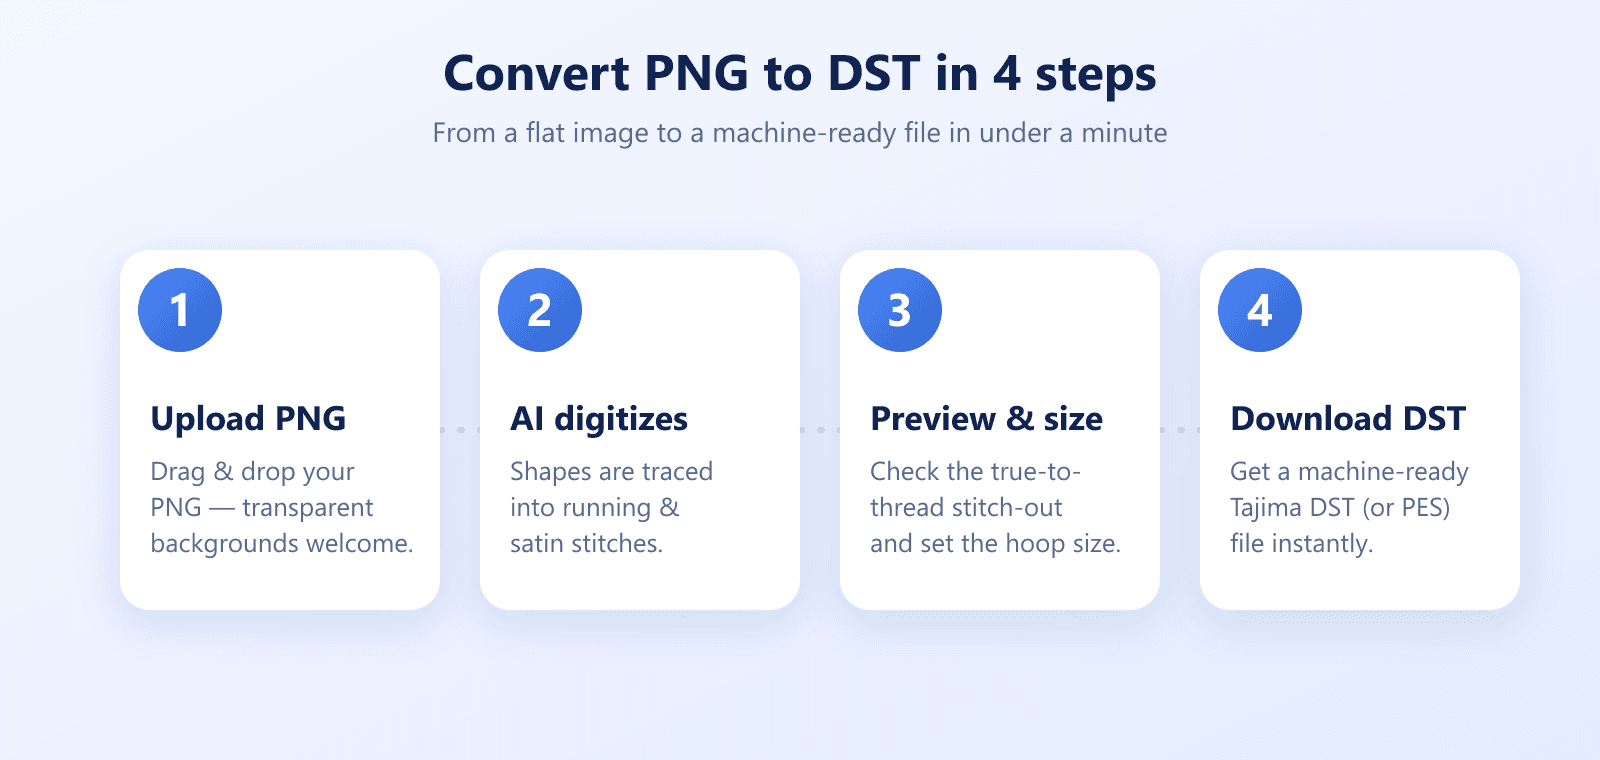
1. Upload your PNG
Open the PNG to DST converter and drag your image in, or browse for it. Transparent PNGs are fine — in fact they're ideal, because the see-through areas become unstitched space instead of a background block. JPG and WEBP images work too.
2. Let the AI digitize it
The converter traces your artwork's shapes and color regions and turns them into real stitches — running stitches for outlines and details, satin for borders and lettering, and fills for larger solid areas. This is the step that actually turns a picture into embroidery.
3. Preview and set the size
Before you download anything, look at the stitch preview. A good converter shows a true-to-thread stitch-out, not just your original image, so you can spot problems early. Set the finished dimensions here so the design fits your hoop — sizing matters more than the PNG's pixel resolution, because it determines how dense and readable the stitches will be.
4. Download the DST
When it looks right, download the DST file. It contains the stitch coordinates, jumps, and trims your machine needs. Copy it to a USB stick or send it to your machine, and you're ready to stitch. If you also run a Brother or Baby Lock machine, download a PES file of the same design so your thread colors are saved too.
Convert your PNG to DST now — free
Upload a PNG, preview the real stitches, and download a machine-ready DST right in your browser. No login required.
Always Preview Before You Stitch
Auto-digitizing is fast, but it isn't magic. Before you commit thread and fabric to a design, it's worth checking the result in a DST viewer so you know what will actually sew out. Things to look for:
- Excessive jump stitches, which can cause thread breaks and messy trims
- Stitches that are too dense, which can pucker the fabric or bird-nest
- Small text or thin lines that may not stitch cleanly at your chosen size
- The overall stitch count, which affects run time and thread use
If something looks off, resize the design, simplify the PNG, or re-run the conversion. Catching problems on screen is far cheaper than catching them in a ruined garment.
DST File vs Image File
To make the difference concrete, here's how a PNG and a DST compare side by side:
| PNG (Image File) | DST (Embroidery File) |
|---|---|
| Stores pixels | Stores stitches |
| For screens and printing | For embroidery machines |
| Can have transparency | Has jumps, trims, color changes |
| Keeps exact colors | No thread colors stored |
| Opens in any image viewer | Opens in a DST viewer or machine |
This is also why a DST doesn't remember your brand colors: you pick the actual thread shades on the machine. If you want the colors baked into the file, keep a PES copy alongside your DST.
Tips for Clean PNG-to-DST Results
Start with the highest-contrast version
Bold, well-separated colors trace more accurately than muddy or anti-aliased edges. If your logo has a light-on-light element, consider strengthening it before converting.
Mind the minimum size
Text and fine details need room to stitch. As a rule of thumb, keep lettering at least 4–5 mm tall and avoid lines thinner than roughly 1 mm at your final size.
Reduce the color count
Every color change means a stop, a trim, and a thread swap. Fewer colors mean a faster, cleaner stitch-out — three or four solid colors is a sweet spot for most logos.
Test on scrap first
Even a great conversion behaves differently on different fabrics. Run a test stitch on similar scrap material before the real job.
Frequently Asked Questions
No. Changing the file extension does not change the contents. A PNG stores pixels while a DST stores stitch commands, so a renamed file will not open on an embroidery machine. The image has to be digitized into stitches first.
Upload your PNG to an online PNG-to-DST converter, let it digitize the artwork into stitches, preview the result, set the size, and download the DST file. EmbroidAI does this in your browser for free with no software to install.
Yes — transparent PNGs are one of the best inputs. The transparent areas are simply left unstitched, so a logo on a transparent background converts cleanly without an unwanted background box around it.
Flat, high-contrast artwork with clear shapes and solid colors: logos, icons, badges, monograms, and simple illustrations. Photographs and heavily gradient images are much harder to embroider and usually need manual digitizing.
Resolution matters less than clarity. A clean 500–1000 px wide PNG with sharp edges is plenty. What matters more is the final stitch-out size, which you set during conversion so the design fits your hoop.
The DST format does not store thread colors — it only stores stitches and color-change commands. You choose the actual thread colors on your machine or software. If you want colors saved in the file, download a PES file as well.
Conclusion
Converting a PNG to DST isn't about changing a file extension — it's about rebuilding your artwork as stitches an embroidery machine can actually sew. Start with clean, high-contrast artwork, digitize it, preview the stitch-out, size it to your hoop, and download the DST. With a good online converter, the whole process takes about a minute, and you can preview and adjust before a single stitch touches fabric.
Ready to try it? Upload your image to the free PNG to DST converter and download a machine-ready file in seconds.